![]()
|
|
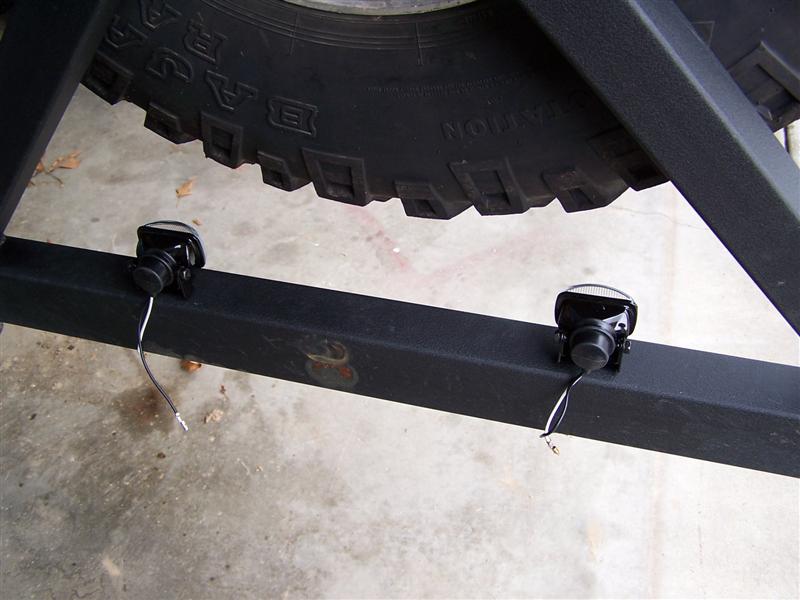
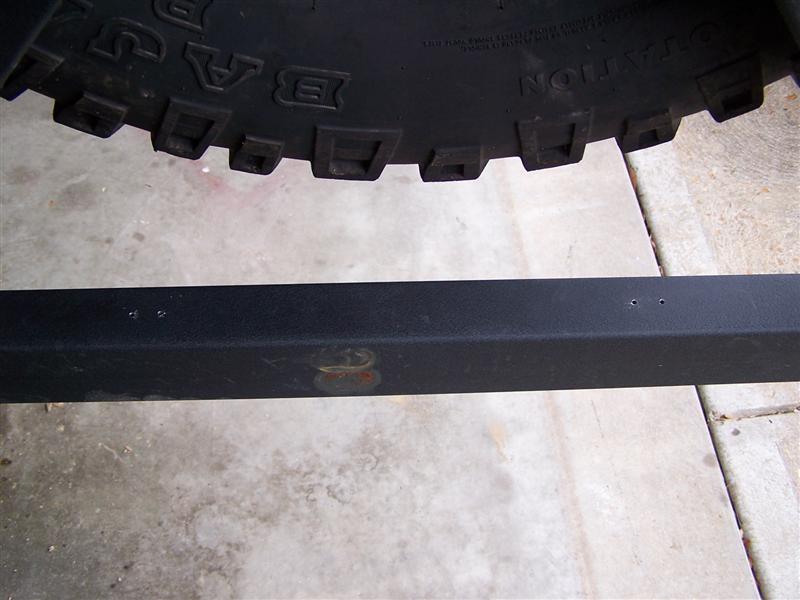
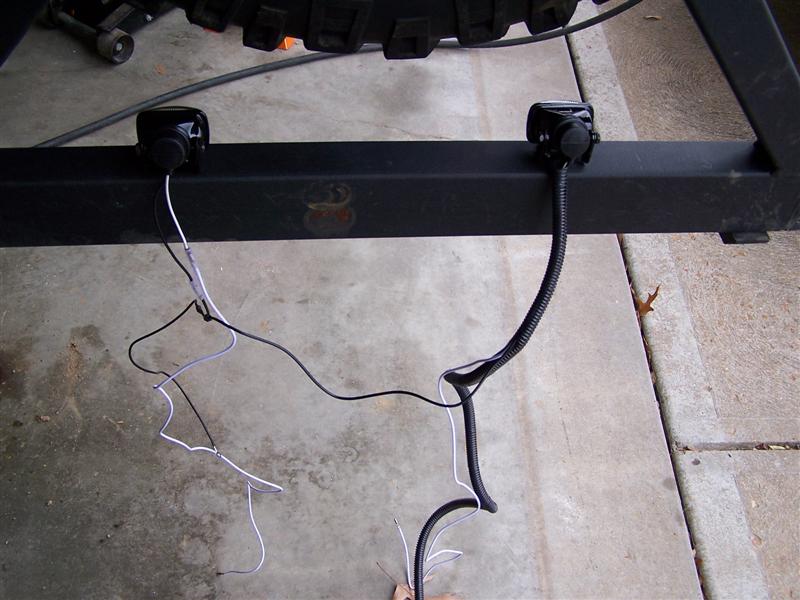
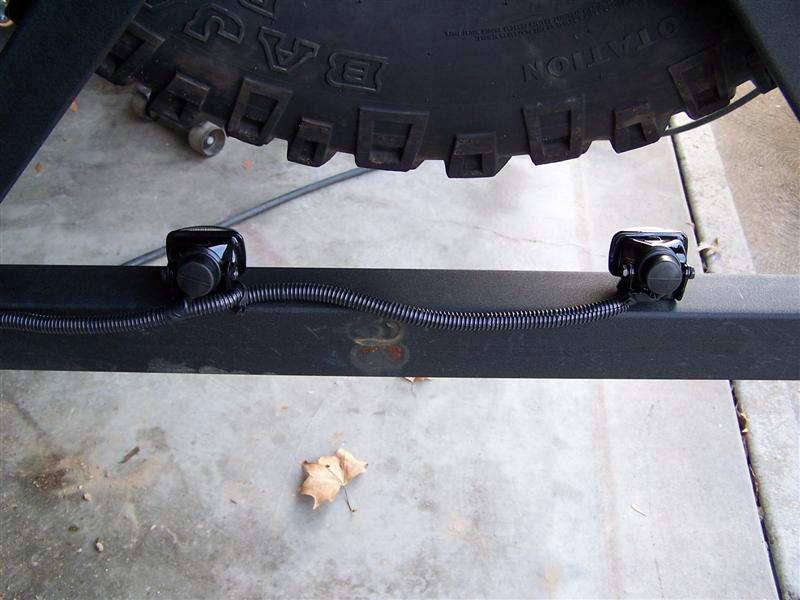
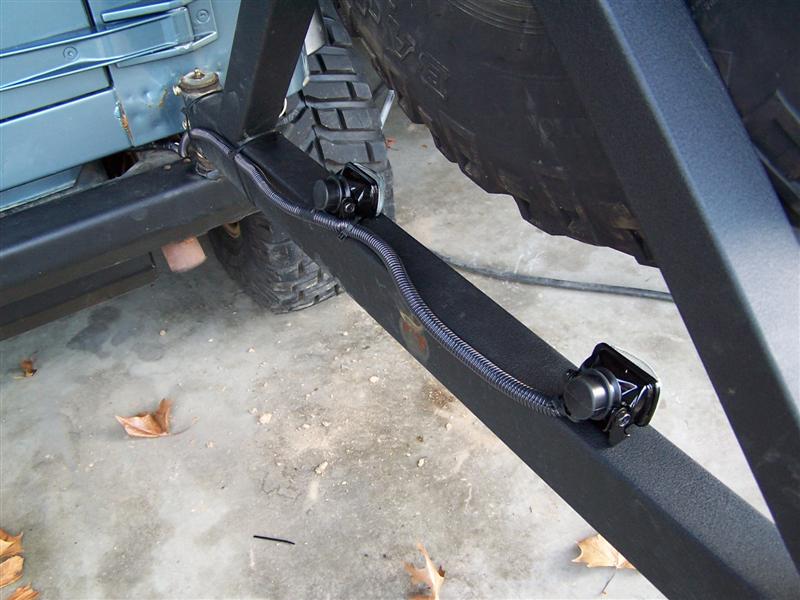
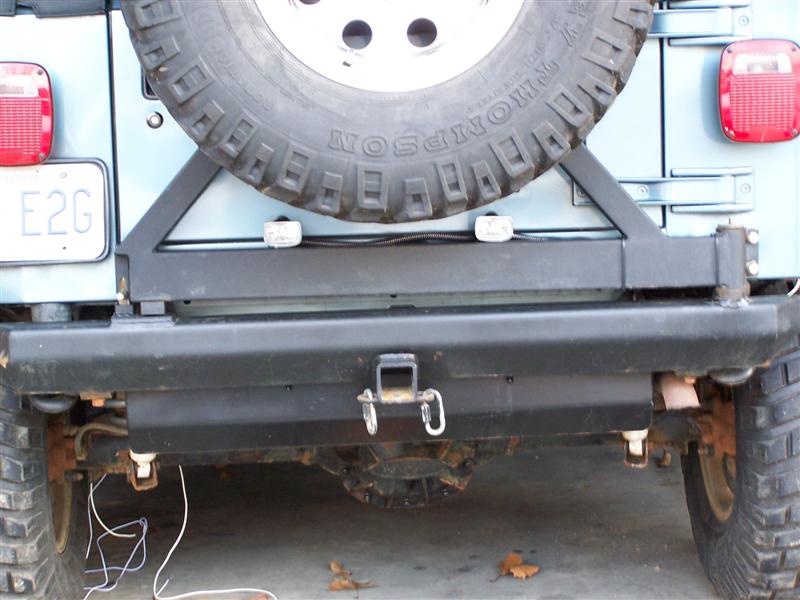
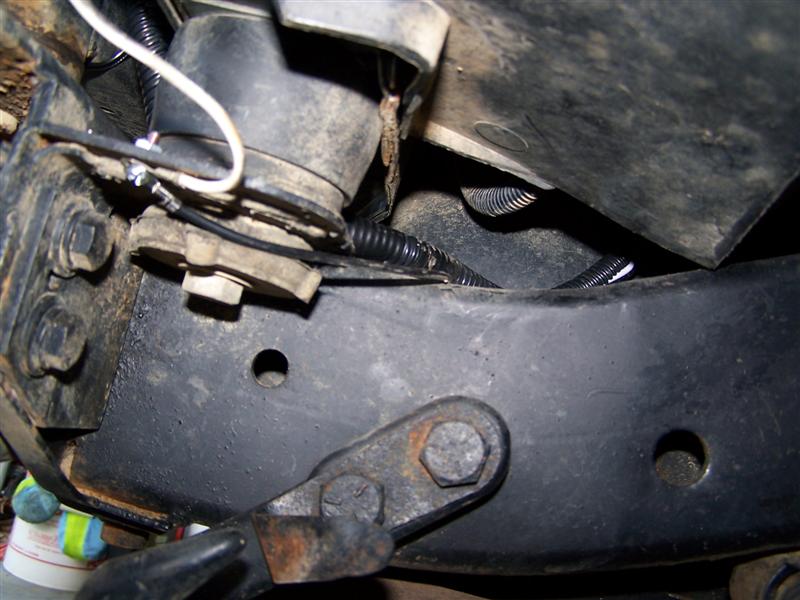
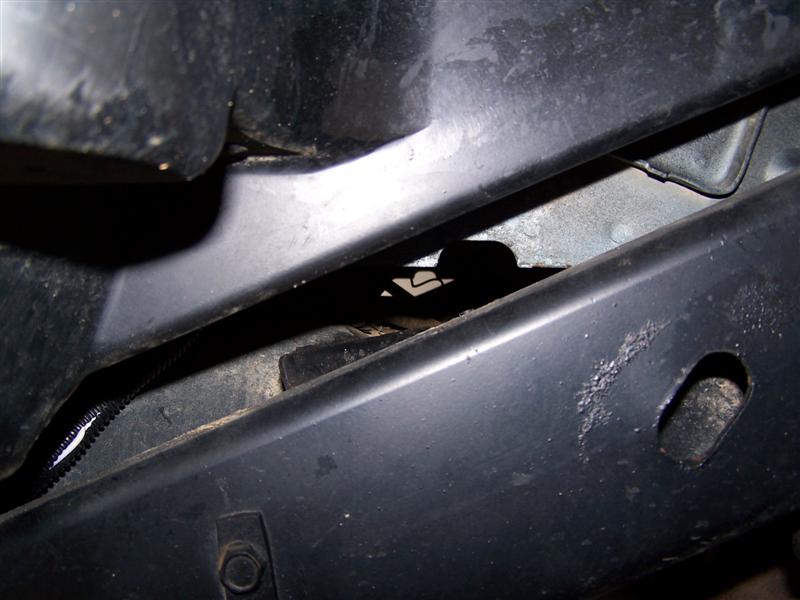
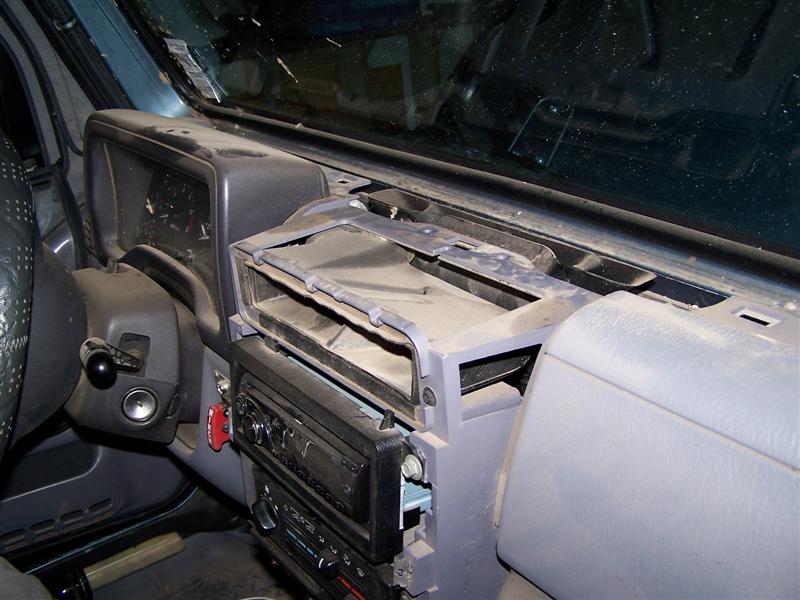
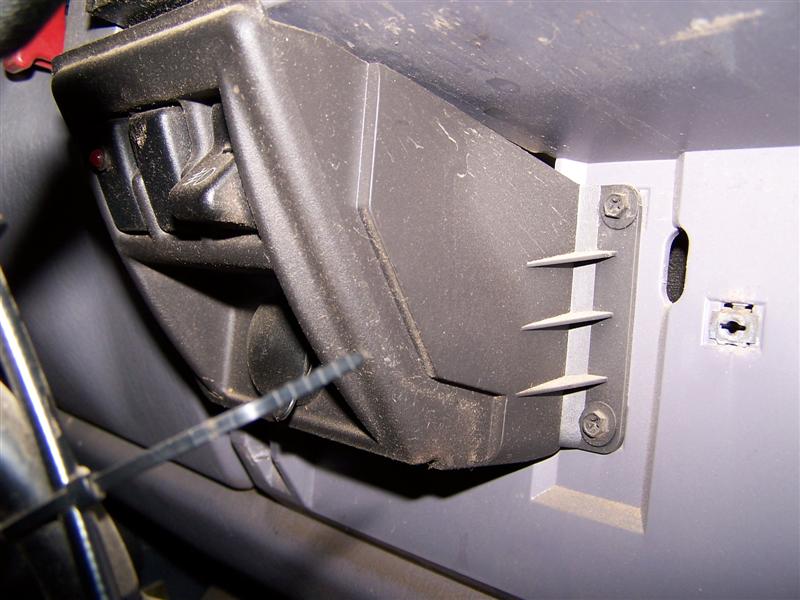
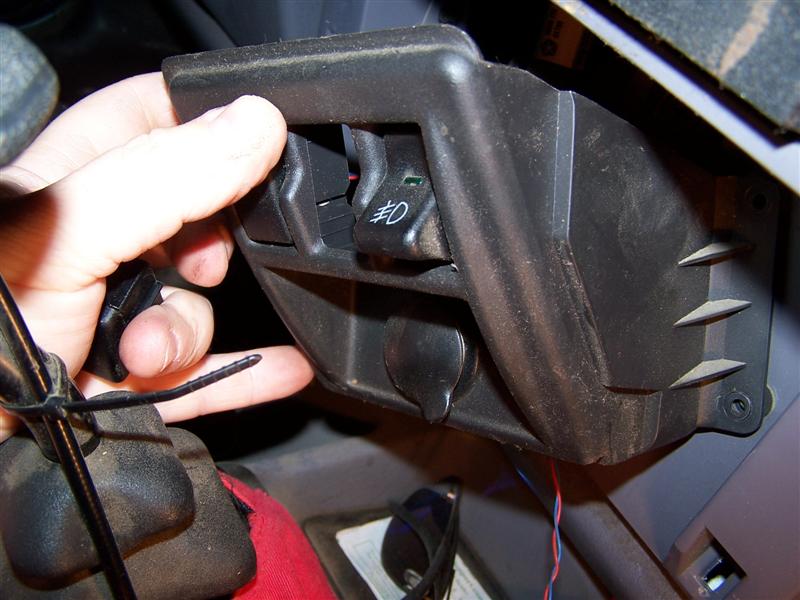
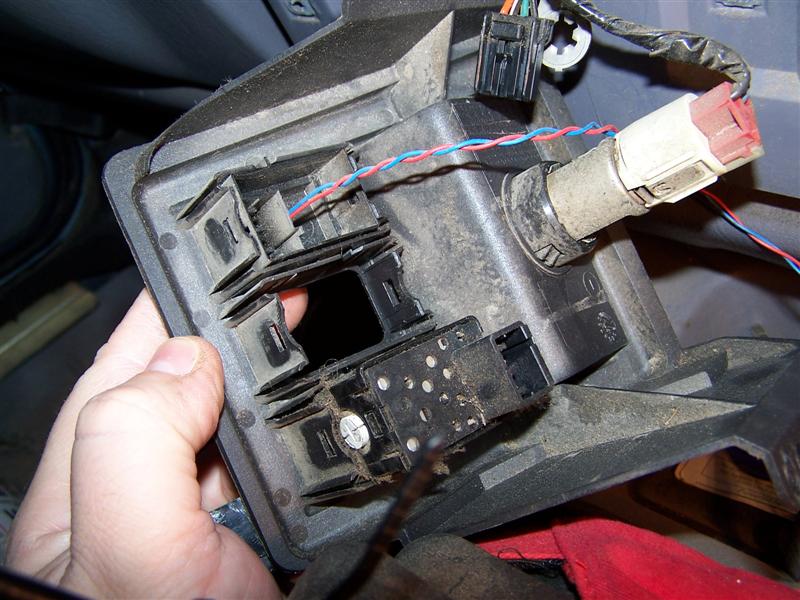
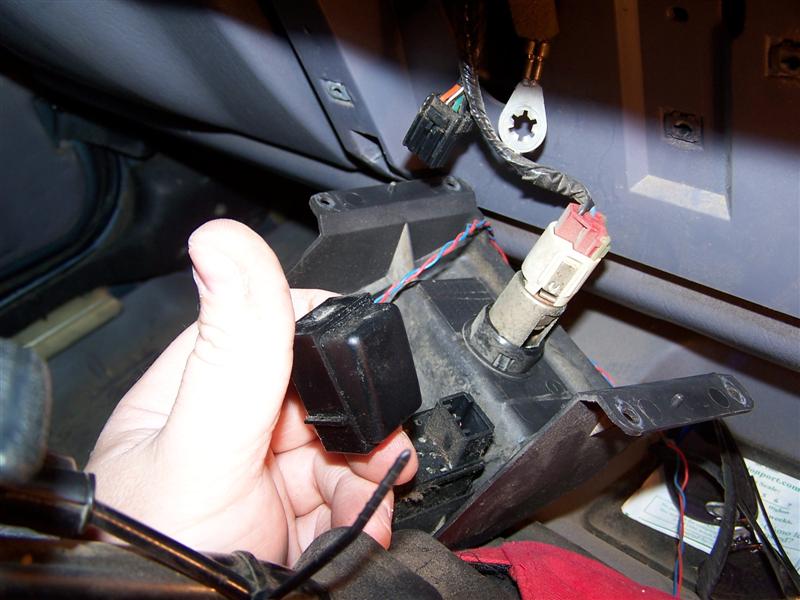
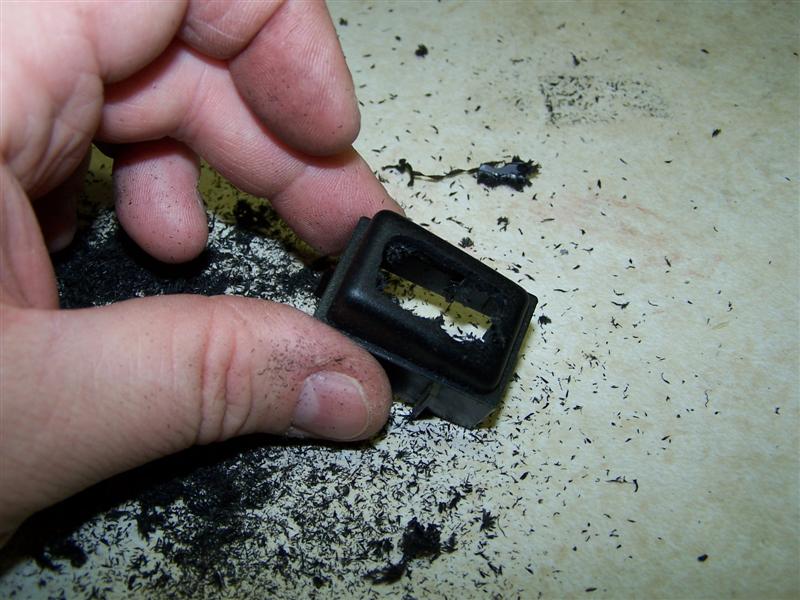
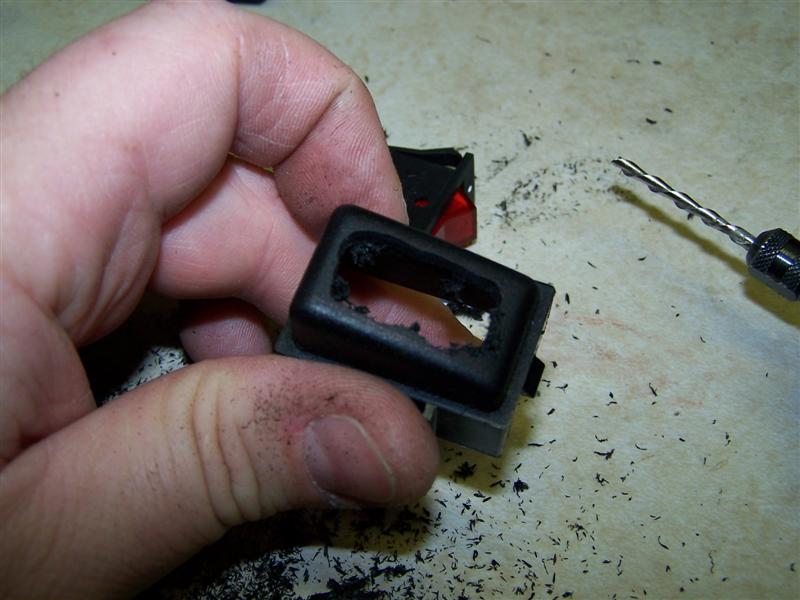
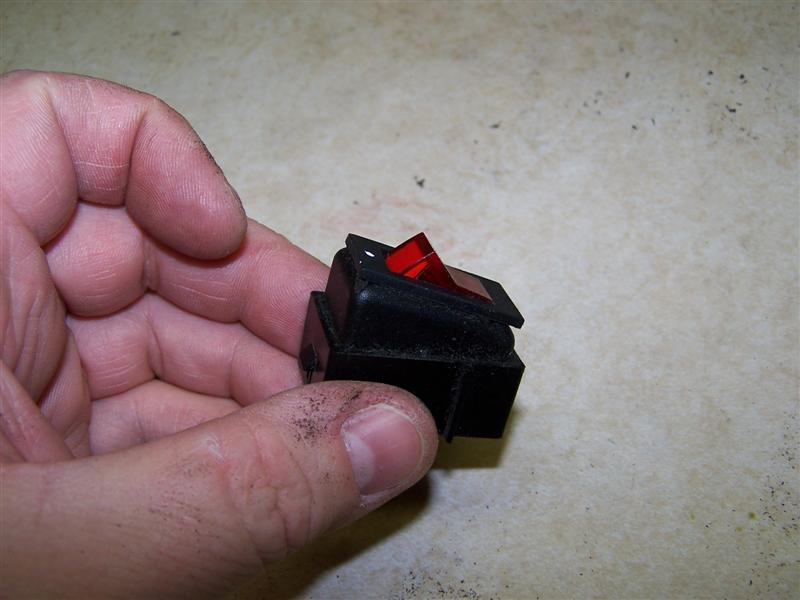
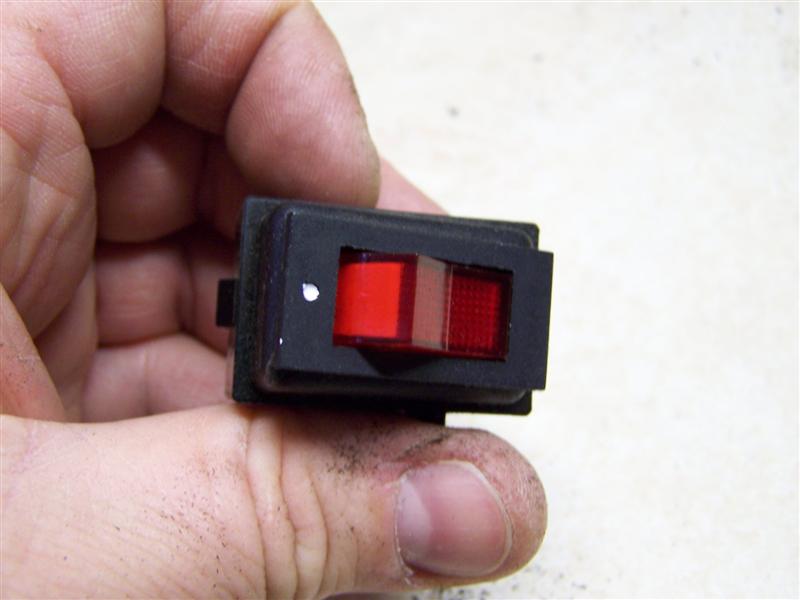
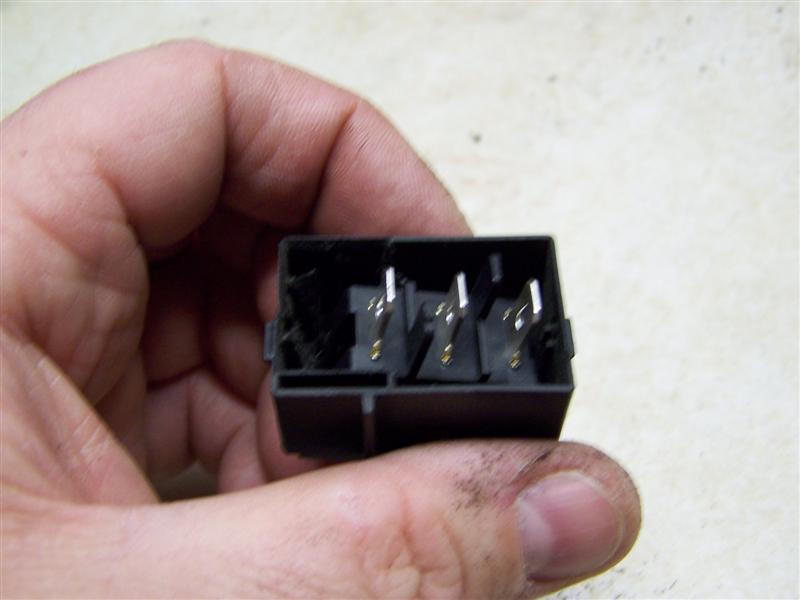
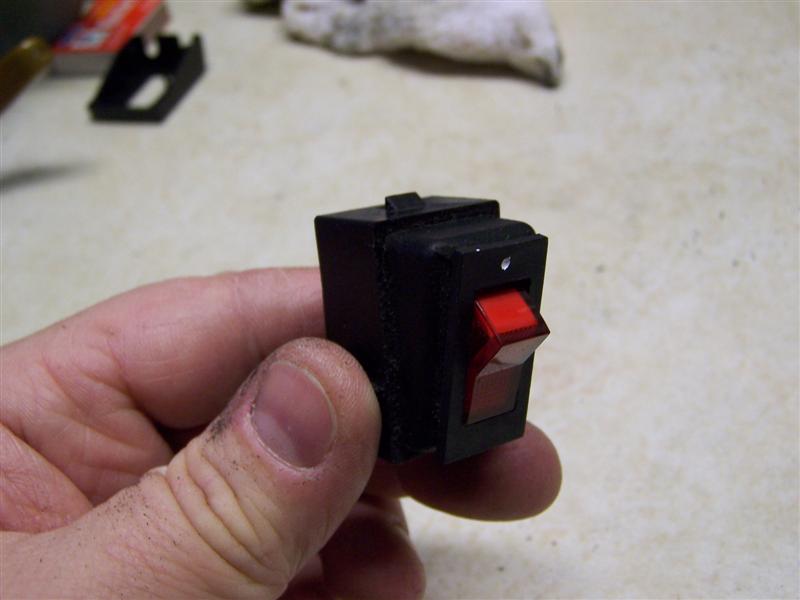
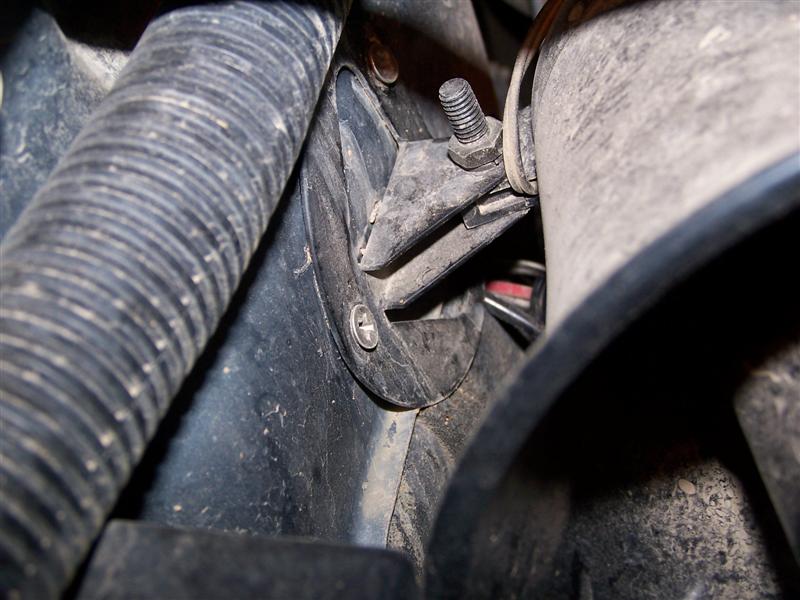
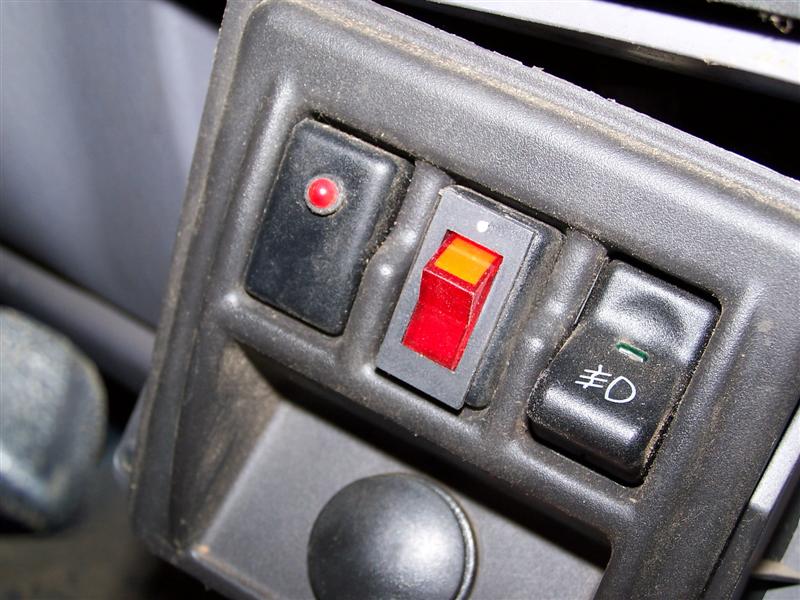
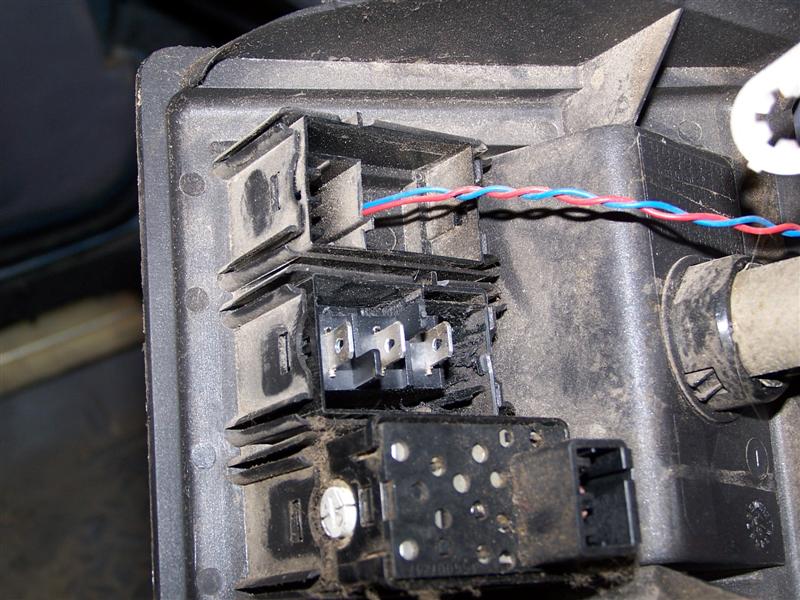
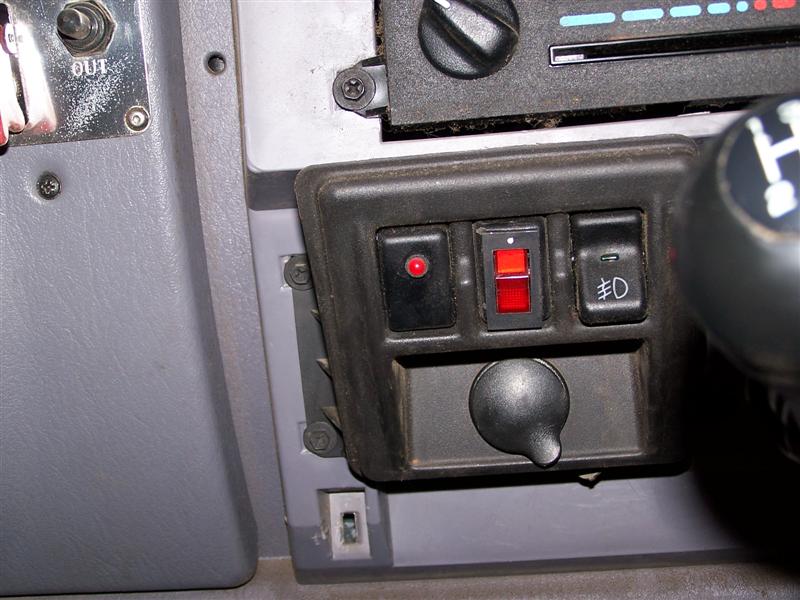
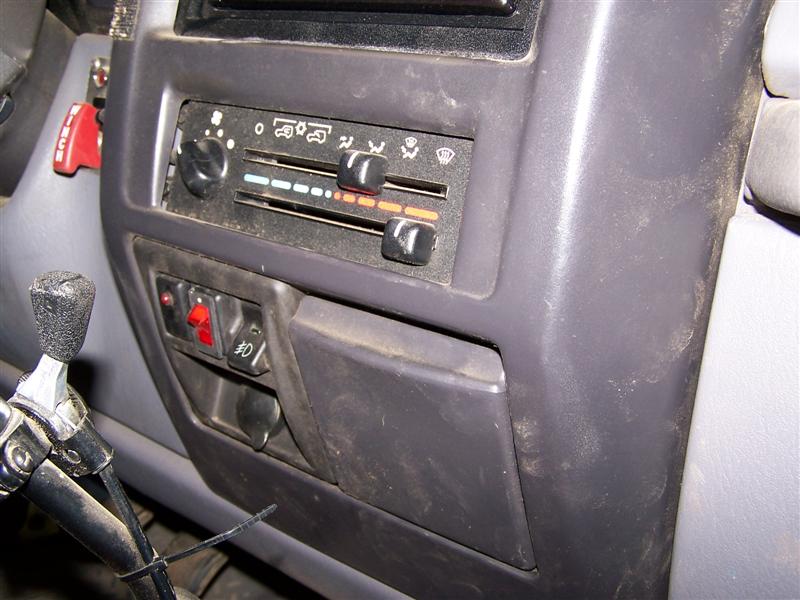
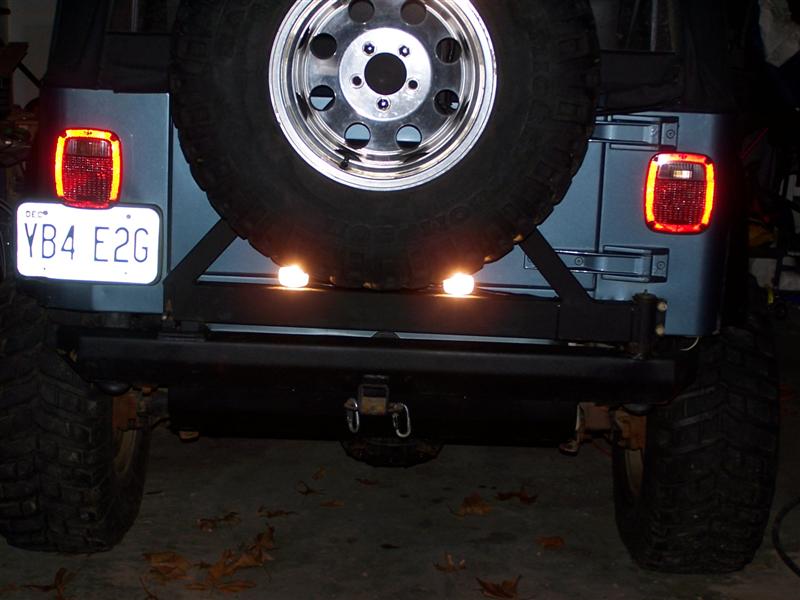
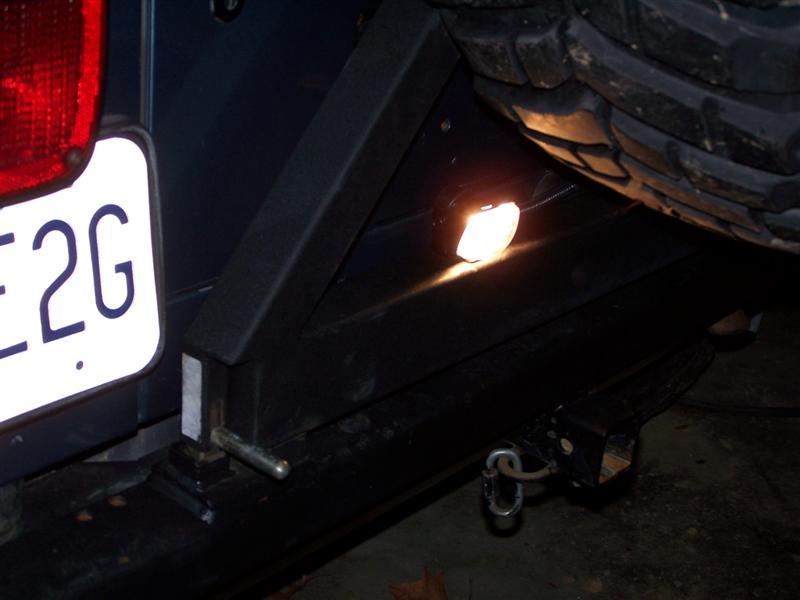
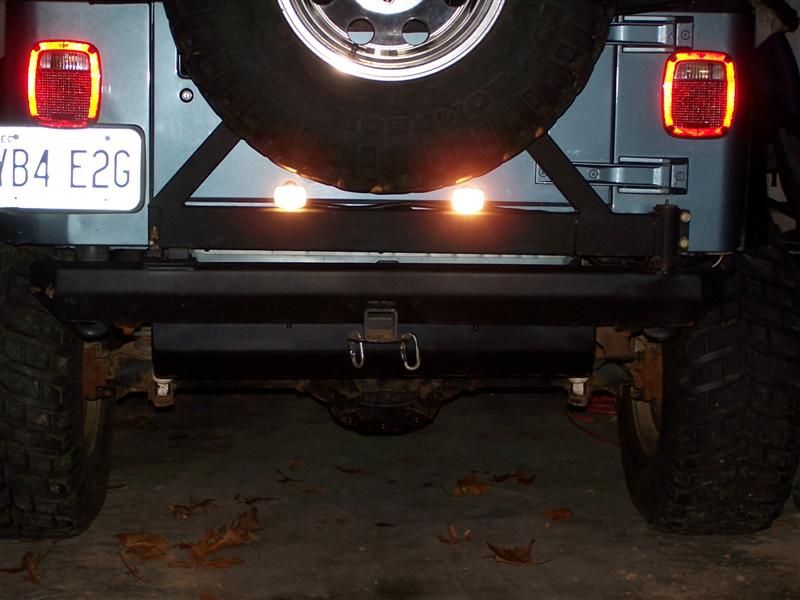
Backup Lights InstallationWhen Jeep made the Wranglers, they skimped big time on lighting. The head lights barely light up the pavement and the backup lights do little more than allow it to pass inspections. Today I aim to fix one of those by installing a pair of auxiliary backup lights. The problem is finding a light that will fit in the few places I have to mount a light on the back end of my Jeep. My requirements were a small light, cheap (because I tend to break things) and easily replaced (because, once again, I tend to break things). What I came up with is a pair of Platinum Burners model QH-88CD driving lights from Wal-Mart. These measure 2 3/8" wide and 1 1/2" high, use a 55-watt halogen bulb and cost less than $20. Winner winner chicken dinner! Step 1 - Where to put them? There really are not that many places on my rear bumper for mounting lights. I cannot mount them under the bumper because they will get crushed when offroading. They should be safe on my swing-out tire carrier. Step 2 - Lets get the lights mounted. The first thing I did was toss the factory hardware and pick up some better self tapping screws from Ace Hardware. If you were mounting these lights to sheet metal, the wimpy sheet metal screws that came with them would be fine. But there is no way the screws were sturdy enough to self tap into this steel. Step 3 - Cabling. While I was at Ace Hardware, I picked up 20 feet of wire to extend the cabling that came with the lights. If I was mounting these on the front bumper, the wire provided would have been sufficient. Since I planned to run the wiring from the rear passenger corner of the Jeep to the front driver side corner of the cab, I needed longer cables. I spliced the wiring, soldered all connections and sealed them with shrink wrap. To help hide the cabling on the swing-out, I covered it in plastic wire loom. Step 4 - Mounting the switch. Fortunately taking the dash apart on a Jeep Wrangler is not that difficult. At least not what's needed to access the center bezel. My goad was to mount the switch inside one of the factory blanks in my switch panel. To do this, I removed the blank and went to work on it with a dremel. In no time at all, I had the blank hollowed out and a hole cut in it large enough to fit the switch. Step 5 - Power. Another reason I bought more wire was because I planned to run both the positive and negative cables from the switch all the way to the battery. To do so, I extended both cables and pushed them through the firewall with my other wiring. From there, it was just a matter of fishing them through the dash to the switch panel and plugging everything in. Step 6 - Put everything back together and see how they work. They are decently bright for a $20 set of lights. Now to see how they work on the trail.
Racing Duck Image By Donnovan Knight © COPYRIGHT 2009 ALL RIGHTS RESERVED VENEMOUSDUCKRACING.COM |
||||||||||||||||||||||||||||||||||||||||||||||||||||||||||||||||||||||||||||||||||||||||||||||||